
Chase evidence with the Evidence Request Tracker
Stop chasing colleagues by email. Raise a request, set a due date, and track it from requested to submitted to accepted — with reviewer comments on every rejection.
Step-by-step
- 1
Open Evidence requests
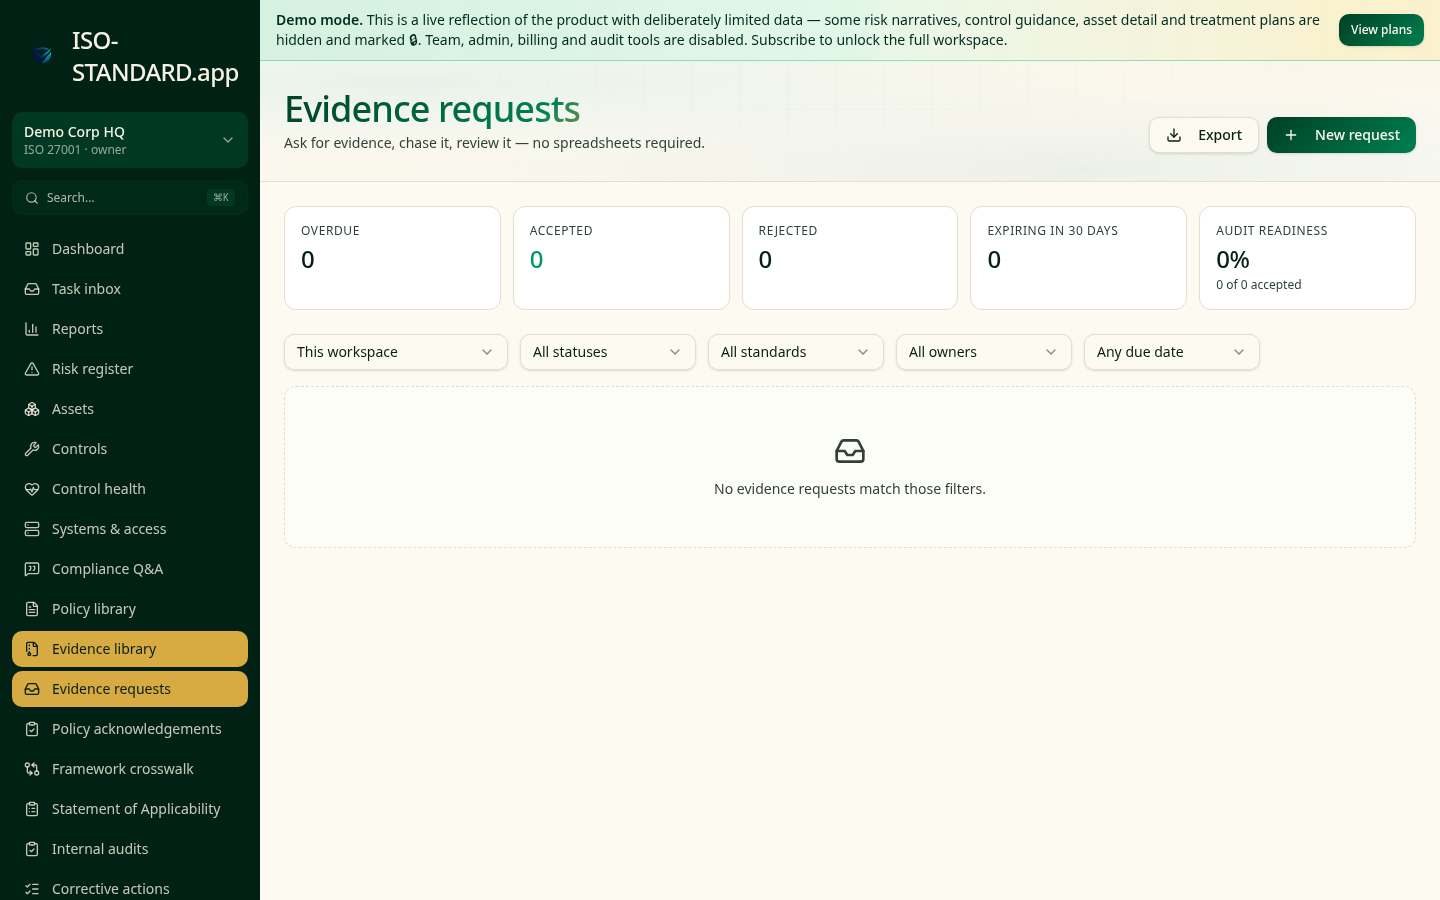
The KPI strip shows how many requests are outstanding, overdue, submitted and accepted so you can see at a glance whether collection is on track.
- 2
Raise a request
Click New request. Describe exactly what you need (for example 'Q3 MFA enforcement export from the identity provider'), pick the type, assign the owner and set a realistic due date.
- 3
Link it to what it proves
Attach the request to the control, risk or audit finding it supports so accepted evidence is automatically connected to the right place.
- 4
Submit and review
The owner uploads the artefact and marks it submitted. A reviewer then accepts it or rejects it with a comment explaining what is missing — no ambiguity, no email thread.
- 5
Keep it fresh
Set an expiry on time-limited evidence (penetration tests, training registers, access reviews). Expired items reappear in the tracker so refresh cycles run themselves.
- "How do you collect and validate evidence across teams?"
- "Who reviews evidence before it is relied upon?"
- "Can you show evidence is refreshed, not just collected once?"
What this workflow produces: A request log showing who was asked for what, when it arrived and who accepted it — the operational proof behind every artefact in your evidence library.
FAQ
Assign the request to any workspace member. Viewers can see requests; members and above can submit.
It stays on the request with the reviewer's comment so the history of what was rejected and why is preserved.
Only if you explicitly publish it. Acceptance stores it internally; Trust Center sharing is a separate, deliberate step.
Ready to run this in your workspace?
Start free — the workspace comes pre-loaded with the frameworks, policies and templates you need to follow this guide today.